
Valley Health Clinic
Where Healing Meets Performance
Specialized Acupuncture
from Pain Management to Athletic Excellence
Our approach is unique
Instead of relying on prescription medicine, invasive procedures, or synthetic enhancement, we are dedicated to healing and optimizing your body’s performance with natural and sustainable techniques. Our practitioners deliver outstanding holistic care, tailored to your individual needs and goals
Get started with Valley Health Clinic
See some of our treatment options
Our practitioners are always here for you
Located in downtown Albany, Oregon, our clinic is open Monday through Friday. Off-street parking is available for your convenience. If you have questions before your visit, feel free to email our practitioners.
Our practitioners offer a blend of time-tested and cutting-edge healthcare disciplines, including acupuncture, bodywork, and herbal remedies.
Are any of these new to you? We have put together an introductory overview as well as a FAQ.
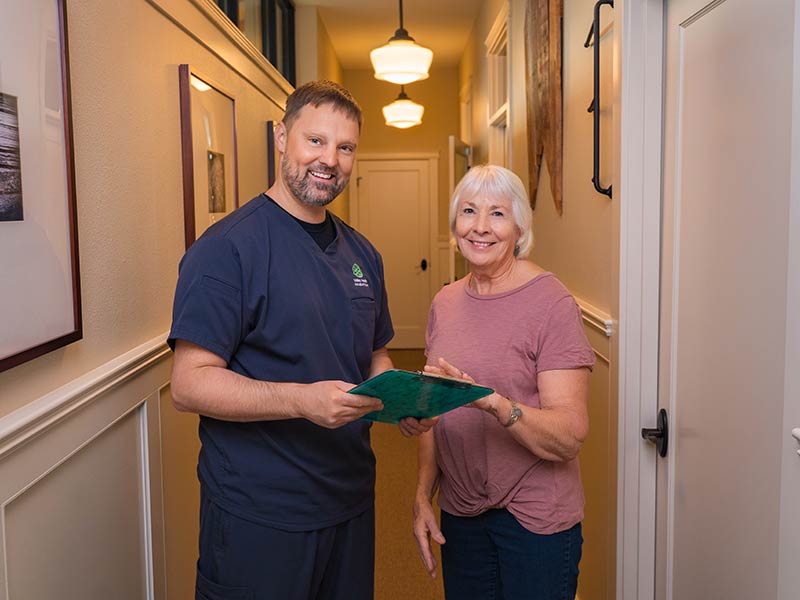
Your first visit at Valley Health Clinic
We are currently welcoming new patients and would be honored to help you and your family get – and stay – well. Scheduling your first visit is easy: Simply call us at 541.760.9670 or use the link below.
Before you come see our practitioners for the first time, please complete the Finance Policy, Consent to Treat, and Insurance Information forms.
If you are not sure whether your insurance policy will cover your treatment at Valley Health Clinic, feel free to give us a call and we will help you confirm your benefits.